CNC operation procedures: FAST
Safety Training Requirements
- Dr. Pearce Safety Lab Tour
- Worker Health & Safety Awareness
- WHMIS 2015 - Workplace Hazardous Materials Information System
- Laboratory Safety & Hazardous Waste Management
- Electrical Safety Training
Safety Issues With Method
- High-speed rotating tools can cause serious injuries.
- Electrical hazards from the CNC machine.
- Risk of flying debris and dust.
Personal protective equipment
PPE is to keep YOU safe so that you can keep doing what you want to do.
- Safety glasses – always required
- Hearing protection – recommended due to noise levels
- Dust mask – to avoid inhalation of dust
- Protective gloves – when handling materials and tools
- Close-toed shoes and long pants
SDS and other
Knowing what chemicals are in the lab and how they interact with each other is critical when accidents happen.
- Appropriate SDS sheets should be viewed online.
- Note the hazards listed on the door to the lab. If you introduce any new equipment or materials you must clear them with the responsible person listed on the lab door. If the responsible person is out of date, contact the departmental administrators to get it updated.
Equipment Name
- LongMill MK2 CNC Machine
- Room #: TEB6, South Wall
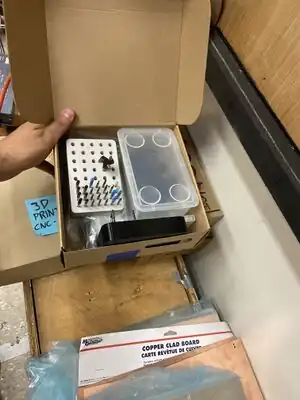
- Vendor Documentation
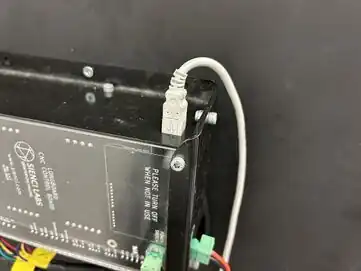
- Vendor Location: Sienci Labs, Contact Information
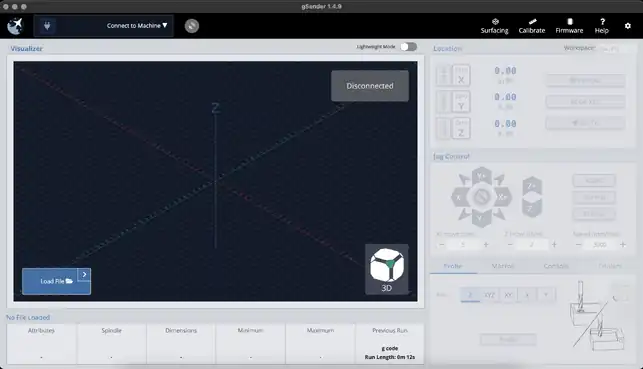
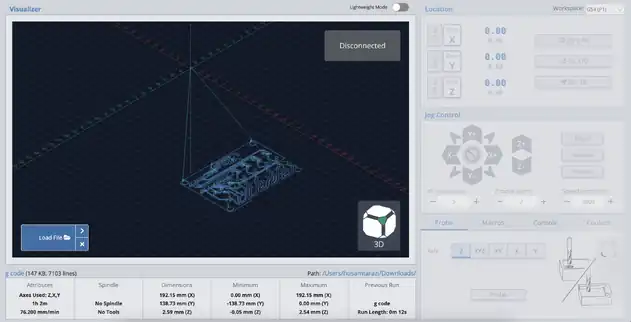
- Equipment Specifications: 30"x30" working area, lead screw-driven, compatible with gSender software.
Calibration & Tolerances
- Ensure the CNC machine is level and secure.
- Calibrate the machine according to the manufacturer’s instructions.
- Verify the steps per millimeter for each axis.
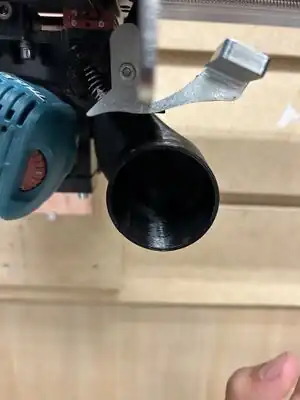
- Check spindle runout and adjust if necessary.
Operation & Procedure
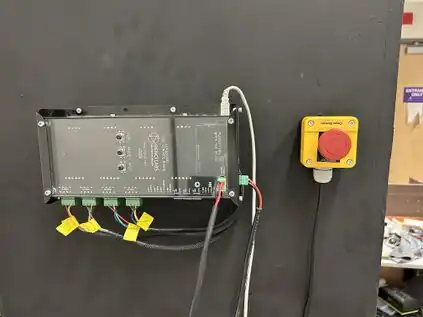
Pre-Check:
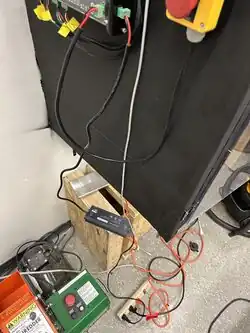
- Ensure the CNC machine is powered on by checking the control box and emergency stop (E-stop).
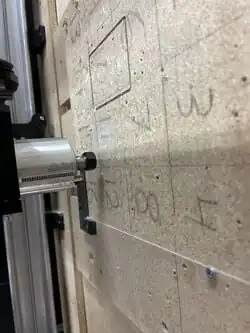
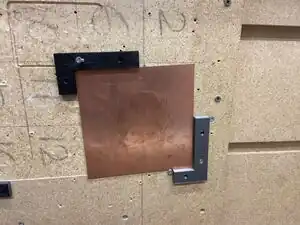
- Inspect the work-bed. If it needs to be replaced, a new work-bed is stored under the table.


| Authors | Husam Tarazi, Obai Maree |
|---|---|
| License | CC-BY-SA-4.0 |
| Organizations | FAST |
| Cite as | Husam Tarazi, Obai Maree (2024). "CNC operation procedures: FAST". Appropedia. Retrieved November 28, 2025. |